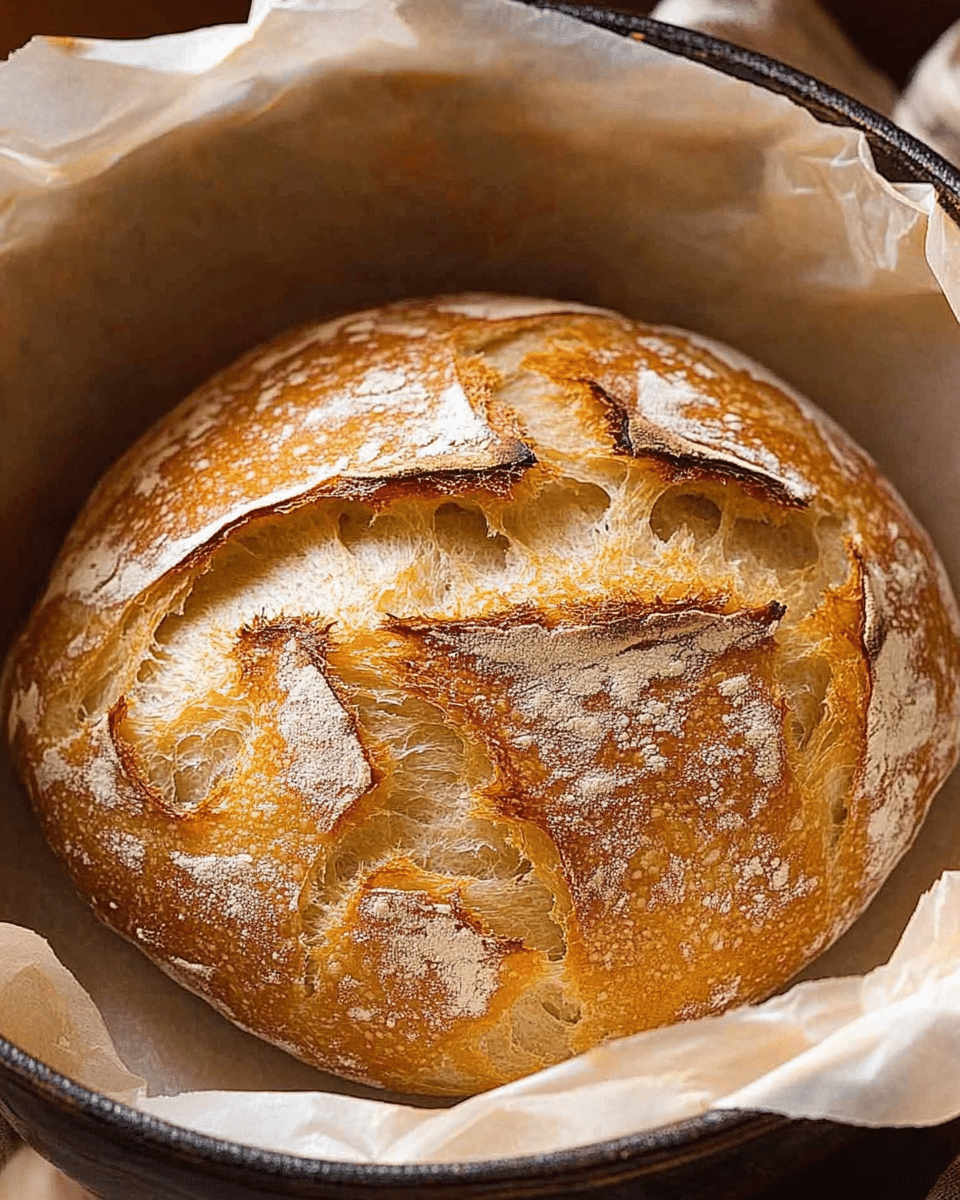
This artisan No Knead Artisan Yeast Bread is the simplest way to make fresh, homemade bread without the need for kneading or fancy equipment. With just a few ingredients and minimal effort, you can create a golden, crusty loaf with a soft, airy interior that rivals any bakery. Whether you’re a first-time baker or a seasoned pro, this recipe will yield delicious, satisfying bread every time.
Why You’ll Love This Recipe
This no-knead artisan bread is perfect for beginners and experienced bakers alike. The method is incredibly easy—mix the ingredients, let the dough rise, and bake in a preheated Dutch oven for an impressively crunchy, rustic loaf. The bread has a chewy texture with a delicate crumb, and the recipe allows for optional refrigeration to develop even more flavor. It’s the kind of bread you’ll want to bake regularly, and it’s perfect for sandwiches, toast, or just served with butter.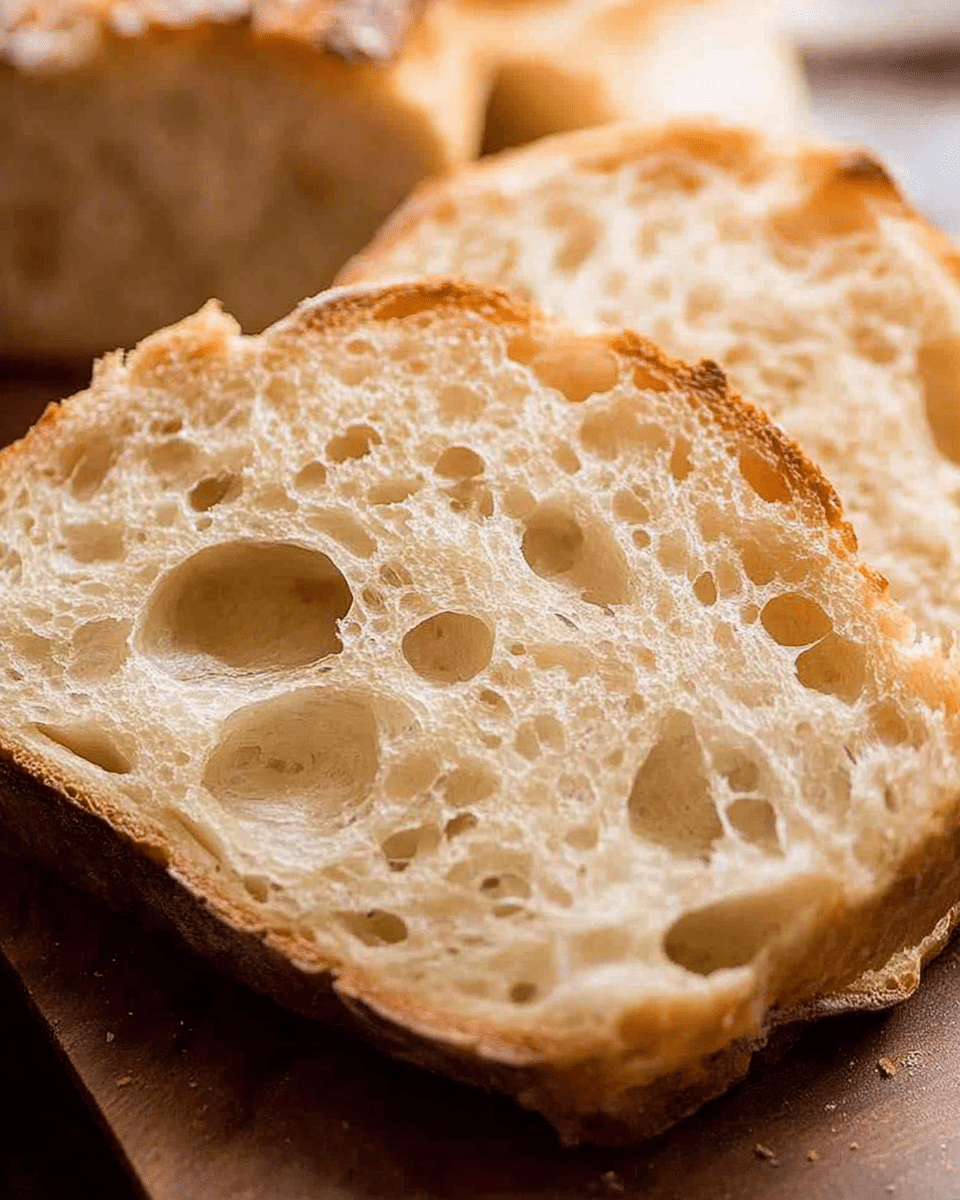
Ingredients
-
For the Dough:
-
3 cups (450g) bread flour or plain/all-purpose flour
-
2 tsp instant or rapid-rise yeast
-
2 tsp cooking/kosher salt (not table salt)
-
1 ½ cups (375ml) very warm tap water (up to 55°C/130°F)
-
-
For Dough Shaping:
-
1 ½ tbsp flour (for dusting)
-
(Tip: You’ll find the full list of ingredients and measurements in the recipe card below.)
Directions
1. Mix Dough:
In a large bowl, combine flour, yeast, and salt. Add the warm water and mix with a wooden spoon until the flour is completely incorporated. The dough will be wet and slightly sloppy but should not be runny. Adjust with more water or flour as needed to achieve the right consistency.
2. Rise:
Cover the bowl with cling wrap or a plate and leave it at room temperature for 2-3 hours, until the dough doubles in size and the surface looks bubbly and wobbly. If the dough isn’t rising after 1 hour, move it to a warmer spot.
3. Optional Refrigeration for Flavor:
For enhanced flavor, refrigerate the dough for up to 3 days. If you refrigerate it, let it sit at room temperature for 45-60 minutes before shaping.
4. Preheat Oven:
Place a Dutch oven (with the lid on) in the oven and preheat to 230°C/450°F (220°C fan) for 30 minutes prior to baking. If you’re not using a Dutch oven, see the alternative method in the notes.
5. Shape Dough:
On a lightly floured surface, scrape out the dough. Sprinkle flour on top of the dough. Using a dough scraper or spatula, fold in the sides of the dough (about 6 folds) to form a rough round shape. Don’t worry about perfection—unevenness adds character!
6. Transfer to Paper:
Place a large piece of parchment paper next to the dough. Flip the dough onto the paper, seam-side down and smooth side up. If needed, reshape the dough into a round.
7. Bake:
Carefully remove the preheated Dutch oven from the oven. Using the parchment paper, lift the dough into the hot pot. Cover with the lid and bake for 30 minutes. Remove the lid and bake for an additional 12 minutes, or until the bread is golden and the crust is crispy.
8. Cool:
Let the bread cool on a rack for 10 minutes before slicing.
Servings and Timing
-
Servings: 10-12 slices
-
Prep Time: 5 minutes
-
Cook Time: 40 minutes
-
Rising Time: 2 hours
-
Total Time: 3 hours 17 minutes
-
Calories per Serving (entire batch): 163 kcal
Notes
-
Flour: Bread flour will yield a chewier texture and a longer shelf life, but you can use all-purpose flour for a softer loaf with a slightly different texture.
-
Yeast: Use instant or rapid-rise yeast for the best results. If using active dry yeast, dissolve it in warm water before adding it to the flour.
-
Salt: If using table salt instead of kosher salt, reduce the amount to 1 ¼ tsp.
-
Water Temperature: Make sure the water is warm, but not hot—around 55°C/130°F. Too hot of water can kill the yeast.
-
Storage: The bread stays fresh for about 2 days, but can be toasted or warmed up after that. For long-term storage, freeze the cooked bread for up to 3 months.
Variations
-
Add-ins: For added flavor, you can stir in herbs (such as rosemary or thyme), garlic, or even olives before shaping the dough.
-
Shape Options: If you prefer, you can shape the dough into a more rustic boule (round) or baguette shape before baking.
-
Toppings: For a crunchy top, sprinkle the dough with sesame seeds, poppy seeds, or a little sea salt before baking.
Storage/Reheating
Store the bread in a paper bag or a breadbox at room temperature for up to 2 days. You can also freeze the bread for up to 3 months—just wrap it tightly in plastic wrap or aluminum foil. To reheat, warm it in the oven at 350°F (175°C) for 10 minutes, or slice and toast.
FAQs
Can I make this bread without a Dutch oven?
Yes! If you don’t have a Dutch oven, you can use a baking sheet or a roasting pan. Preheat your oven with a baking stone, if you have one, and place the dough on the hot stone. You can also cover the dough with an inverted roasting pan or another large baking dish to create steam.
Can I add toppings to the bread dough?
Yes, you can add seeds, herbs, or even cheese to the dough before baking. Just fold them into the dough as you shape it.
How can I tell when the bread is fully cooked?
The bread should be golden brown on the outside and sound hollow when tapped on the bottom. If you have a kitchen thermometer, the internal temperature should be about 200°F (93°C).
Can I make the dough ahead of time?
Yes, you can refrigerate the dough for up to 3 days. This will allow the flavors to develop further. Just let the dough sit at room temperature for 45-60 minutes before shaping.
Conclusion
The World’s Easiest Yeast Bread – Artisan, No Knead is an incredibly simple and rewarding recipe that will leave you with a fresh, crusty, and aromatic loaf of bread. With minimal effort and just a few ingredients, you can enjoy a bakery-quality loaf right at home. Whether you’re a beginner or a seasoned baker, this recipe guarantees a successful, delicious bread every time. Enjoy!
Print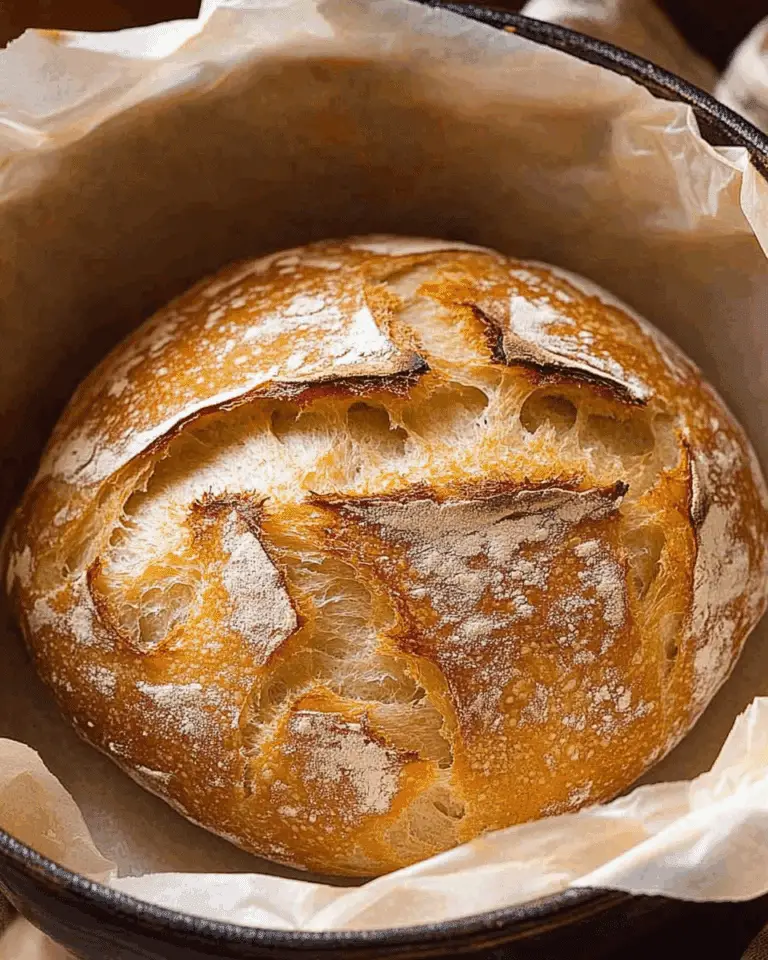
No Knead Artisan Yeast Bread
An easy, no-knead artisan bread that’s crisp on the outside and soft and airy on the inside. A simple, foolproof method for fresh, homemade bread.
- Total Time: 3 hours 17 minutes
- Yield: 10–12 slices
Ingredients
- For the Dough:
- 3 cups (450g) bread flour or plain/all-purpose flour
- 2 tsp instant or rapid-rise yeast
- 2 tsp cooking/kosher salt (not table salt)
- 1 ½ cups (375ml) very warm tap water (up to 55°C/130°F)
- For Dough Shaping:
- 1 ½ tbsp flour (for dusting)
Instructions
- Mix Dough: In a large bowl, combine flour, yeast, and salt. Add warm water and mix with a wooden spoon until all flour is incorporated. The dough should be wet and sloppy but not runny. Adjust with more water or flour as needed.
- Rise: Cover with cling wrap or a plate and leave at room temperature for 2-3 hours, until the dough doubles in size and has a bubbly, wobbly surface. If it’s not rising after 1 hour, move it to a warmer spot.
- Optional Refrigeration for Flavor: Refrigerate the dough for up to 3 days for better flavor development. If refrigerated, let it sit at room temperature for 45-60 minutes before shaping.
- Preheat Oven: Place a Dutch oven in the oven and preheat to 230°C/450°F (220°C fan) for 30 minutes prior to baking. If not using a Dutch oven, see the alternative method in the notes.
- Shape Dough: On a lightly floured surface, scrape out the dough and sprinkle the top with flour. Use a dough scraper or spatula to fold in the sides (about 6 folds), forming a rough round shape. Don’t worry about perfection—unevenness adds character!
- Transfer to Paper: Slide a large piece of parchment paper next to the dough. Flip the dough onto the paper (seam-side down, smooth side up), and reshape it into a round if necessary.
- Bake: Carefully remove the preheated Dutch oven from the oven. Using the parchment paper, lift the dough into the hot pot. Place the lid on and bake for 30 minutes. Remove the lid and bake for another 12 minutes, or until golden and crispy.
- Cool: Let the bread cool on a rack for 10 minutes before slicing.
Notes
- Flour: Bread flour will give a chewier, fluffier texture with a longer shelf life. All-purpose flour works too but with a slightly different texture.
- Yeast: Use instant or rapid-rise yeast. If using active dry yeast, dissolve it in water before mixing.
- Salt: If using table salt, reduce the amount to 1 ¼ tsp.
- Water Temperature: Ensure the water is warm, not hot, to avoid killing the yeast.
- Storage: The bread stays fresh for about 2 days, but can be toasted or warmed after that. Freeze cooked bread for up to 3 months.
- Prep Time: 5 minutes
- Cook Time: 40 minutes
- Category: Bread
- Method: Baking
- Cuisine: Artisan
- Diet: Vegetarian
Nutrition
- Serving Size: 1 slice
- Calories: 163
- Sugar: 0g
- Sodium: 300mg
- Fat: 0g
- Saturated Fat: 0g
- Unsaturated Fat: 0g
- Trans Fat: 0g
- Carbohydrates: 33g
- Fiber: 2g
- Protein: 4g
- Cholesterol: 0mg

