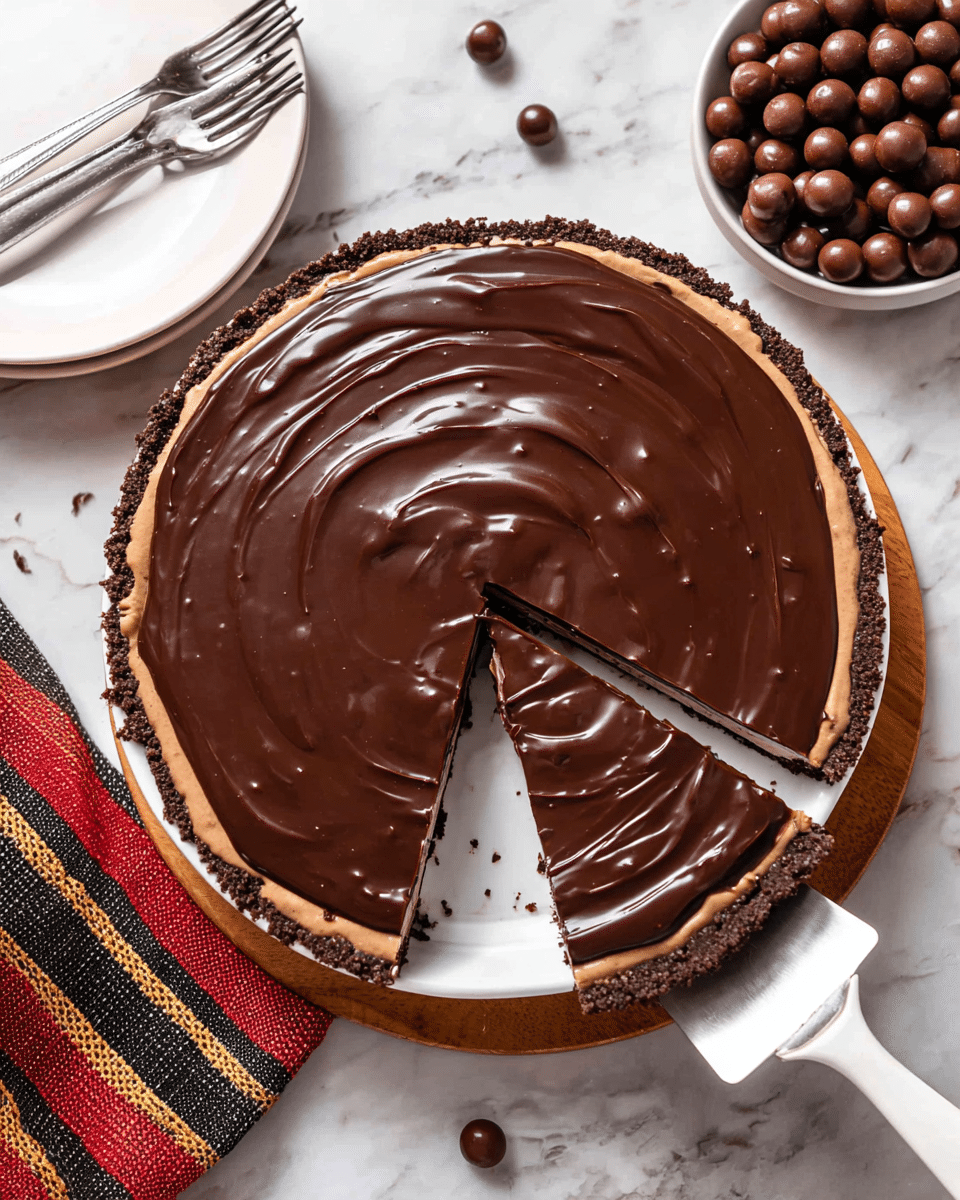
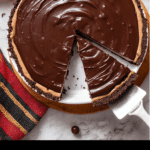
If you adore the harmonious blend of coffee and chocolate, then you are in for an absolute treat with the No-Bake Mocha Cheesecake with Oreo Crust and Chocolate-Espresso Ganache Recipe. This luscious dessert combines a crisp Oreo crust, a silky mocha-infused cheesecake filling, and a shiny, rich chocolate-espresso ganache that dances on your taste buds. It’s the perfect indulgence for when you want a cafe-worthy dessert without turning on the oven, making it an effortless crowd-pleaser any time of year.
Ingredients You’ll Need
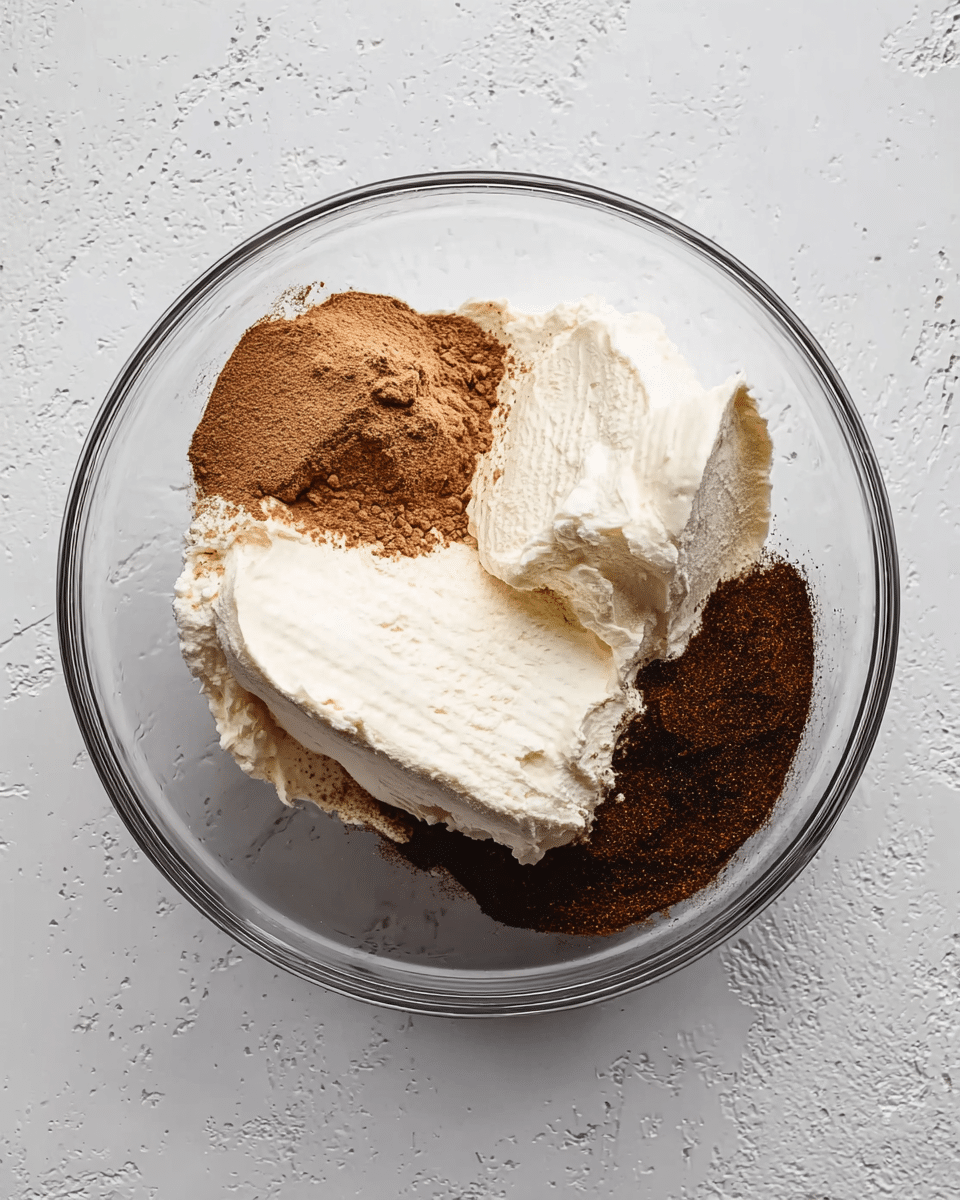
These ingredients are straightforward but critical to achieving the creamy texture, balanced flavors, and beautiful presentation that make this dessert so unforgettable. Each element brings something wonderful to the table, from the crunchy Oreo foundation to the decadent coffee-chocolate harmony in the filling and ganache.
- Oreos (22 cookies): The iconic chocolate sandwich cookies provide the perfect crunchy and chocolatey base for the crust.
- Butter (5 tablespoons, melted): Binds the Oreo crumbs together firmly for a sturdy crust.
- Heavy whipping cream (1 ½ cups, cold): Whipped to soft peaks, it gives the cheesecake its light, airy texture.
- Cream cheese (24 ounces, softened): The creamy heart of the cheesecake, delivering richness and tang.
- Unsweetened cocoa powder (⅓ cup): Adds deep chocolate flavor without sweetness, balancing the ganache.
- Instant espresso powder (1 tablespoon plus 2 teaspoons): Infuses the cheesecake and ganache with authentic coffee aroma and depth.
- Powdered sugar (1 cup): Sweetens the filling smoothly without graininess.
- Vanilla extract (1 teaspoon): Enhances the overall flavor profile, rounding out the mocha notes.
- Semi-sweet chocolate chips (½ cup): Melts into a silky ganache that crowns the cheesecake beautifully.
- Light corn syrup (1 tablespoon): Adds shine and smoothness to the ganache for that professional finish.
How to Make No-Bake Mocha Cheesecake with Oreo Crust and Chocolate-Espresso Ganache Recipe
Step 1: Prepare the Oreo Crust
First things first, greasing your 9-inch springform pan ensures the crust releases easily later. Crush the Oreos finely in a food processor and slowly add in the melted butter to create a crumbly yet adhesive mixture. Press this mixture firmly into the bottom and up the sides of your pan—the packed crust will hold beautifully as a solid base once chilled. Pop it into the freezer for at least 20 minutes to harden and set the stage for the creamy filling.
Step 2: Whip the Cream and Prepare the Filling
While your crust chills, whip the cold heavy cream to stiff peaks until it’s light and billowy. Separately, beat the softened cream cheese with cocoa powder and espresso powder until silky and smooth. Then add the powdered sugar and vanilla, mixing them in gently but thoroughly. Finally, fold in your whipped cream carefully—this step is crucial to maintain that fluffy, melt-in-your-mouth texture. Smooth this mocha filling evenly on top of your chilled crust, cover it tightly, and refrigerate for at least 6 hours; overnight chilling is even better for flavors to meld.
Step 3: Make and Pour the Chocolate-Espresso Ganache
When your cheesecake has set and you’re ready to wow your guests, prepare the ganache. Warm the heavy cream and espresso powder until steaming, then add chocolate chips and corn syrup. Let them sit to melt completely before stirring to a glossy, smooth finish. Carefully release the cheesecake from the springform pan and transfer it to a serving plate or cake stand. Pour the ganache over the top, gently spreading it to a glossy, even layer. Let the ganache rest at room temperature for about 10 minutes before slicing to allow it to set just right.
How to Serve No-Bake Mocha Cheesecake with Oreo Crust and Chocolate-Espresso Ganache Recipe
Garnishes
Adding a little flair not only elevates presentation but enhances every bite. Consider a sprinkle of crushed Oreos or chocolate shavings on top, or a light dusting of cocoa powder or espresso powder for that coffee-shop vibe. Fresh raspberries or a dollop of whipped cream can add a pop of color and a hint of freshness that balances the richness perfectly.
Side Dishes
This decadent mocha cheesecake pairs wonderfully with a handful of fresh berries or a small scoop of vanilla bean ice cream to cool the palate. For more indulgence, serve alongside some freshly brewed espresso or coffee to amplify the mocha notes and make it an experience worth savoring.
Creative Ways to Present
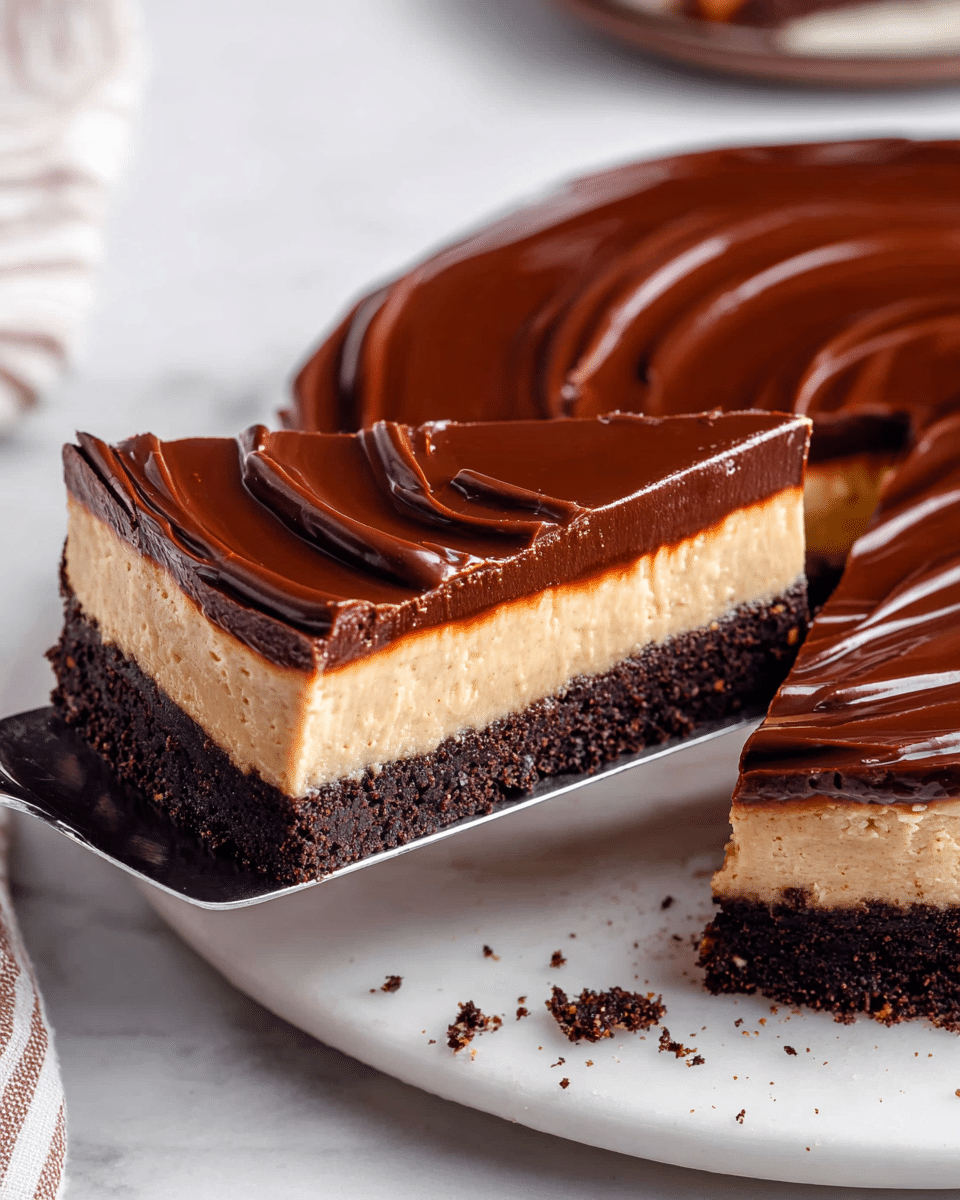
Use a pie server to create neat, tall slices that show off the creamy layers and ganache. For a special touch, plate each slice on a pretty dessert plate with a drizzle of caramel sauce or chocolate syrup and sprinkle finely chopped nuts for texture contrast. You can even present mini versions in small glasses for a fun and elegant dessert sampler at gatherings.
Make Ahead and Storage
Storing Leftovers
The No-Bake Mocha Cheesecake with Oreo Crust and Chocolate-Espresso Ganache Recipe keeps beautifully covered in plastic wrap or an airtight container in the refrigerator for up to three days without losing any flavor or texture. This makes it ideal to prepare ahead of time for parties or special events.
Freezing
If you want to store it longer, wrapping the cheesecake in plastic wrap followed by a layer of foil helps prevent freezer burn and preserves freshness for up to two months. When you’re ready to indulge, simply thaw it overnight in the refrigerator. The texture stays surprisingly creamy, almost like it was freshly made.
Reheating
This dessert is best served chilled, so no reheating is recommended. Simply remove it from the fridge about 10 minutes before serving to allow flavors to open up gently. The ganache softens slightly at room temperature, making each forkful utterly divine.
FAQs
Can I substitute regular coffee for the espresso powder?
Yes! You can use instant coffee powder as a substitute, but use double the amount to maintain that rich mocha flavor. Alternatively, a shot of strong brewed espresso works wonderfully, though you might want to reduce the heavy cream slightly to keep the filling firm.
Is this cheesecake gluten-free?
The cheesecake filling and ganache are naturally gluten-free. To make the entire recipe gluten-free, simply swap the Oreo cookies for gluten-free chocolate sandwich cookies or wafers. This switch keeps all the flavor and texture you crave without the gluten.
Can I make this cheesecake without a springform pan?
Absolutely! A 9-inch deep pie dish or an 8×8-inch square high-sided pan lined with parchment paper works just fine. Just remember the chilling times remain the same, but removal will be easier with the parchment lining.
What’s the best way to crush the Oreos for the crust?
The easiest way is using a food processor for fine, even crumbs. If you don’t have one, place the cookies in a ziplock bag and crush them with a rolling pin until fine. Just be sure to melt the butter slowly into the crumbs to help them bind when you press them into the pan.
How do I get the ganache to be smooth and shiny?
Heating the cream and espresso powder before adding the chocolate chips allows everything to melt together without lumps. Letting the chips sit for a minute before stirring helps them soften evenly. Stir gently until silky smooth, then add the corn syrup for that beautiful glossy finish. Patience here makes all the difference!
Final Thoughts
If you’re searching for a delightful dessert to impress and satisfy your cravings without fussing over the oven, this No-Bake Mocha Cheesecake with Oreo Crust and Chocolate-Espresso Ganache Recipe is your answer. Its rich coffee and chocolate layers, combined with the crunchy Oreo base and irresistible ganache, make it an absolute showstopper. Trust me, once you try it, it will become a treasured favorite you want to make again and again. So, gather those ingredients, and get ready to indulge in one of the most heavenly no-bake treats you’ll ever enjoy!
Print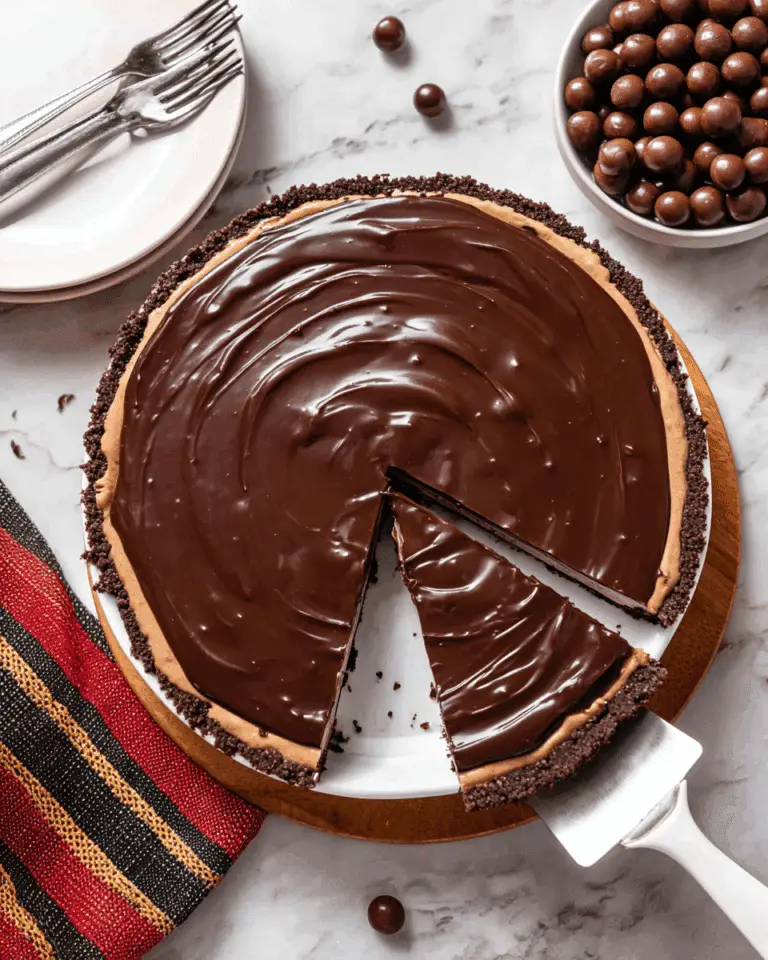
No-Bake Mocha Cheesecake with Oreo Crust and Chocolate-Espresso Ganache Recipe
This no-bake mocha cheesecake is a luscious dessert that combines the bold flavors of espresso and chocolate with a creamy, smooth texture. Featuring a crunchy Oreo crust, a rich mocha-infused cheesecake filling, and a glossy chocolate-espresso ganache topping, it’s an elegant, restaurant-quality treat perfect for coffee and chocolate lovers alike. No baking required, just a few hours of chilling to set, making it an easy yet impressive dessert for any special occasion or gathering.
- Total Time: 6 hours 30 minutes
- Yield: 8 slices
Ingredients
Crust:
- 22 Oreo cookies
- 5 tablespoons butter, melted
Mocha Cheesecake Filling:
- 1 ½ cups heavy whipping cream, cold
- 24 ounces cream cheese, softened
- ⅓ cup unsweetened cocoa powder
- 1 tablespoon instant espresso powder
- 1 cup powdered sugar
- 1 teaspoon vanilla extract
Mocha Ganache:
- ¼ cup heavy whipping cream
- 2 teaspoons instant espresso powder
- ½ cup semi-sweet chocolate chips
- 1 tablespoon light corn syrup
Instructions
- Prepare the Crust: Grease a 9-inch springform pan with shortening or butter to prevent sticking and set aside. Using a food processor, crush the Oreo cookies into fine crumbs. While the processor is running at low speed, slowly pour in the melted butter until the mixture begins to clump together. Transfer the crumb mixture into the prepared pan and firmly press it into the bottom and slightly up the sides to form an even crust. Place the crust in the freezer for at least 20 minutes or until it sets firmly.
- Whip the Cream: While the crust chills, pour the cold heavy whipping cream into a medium or large mixing bowl. Using an electric mixer, whip the cream until stiff peaks form. Set aside this whipped cream for folding later.
- Make the Cheesecake Filling: In a separate large bowl, combine softened cream cheese, unsweetened cocoa powder, and instant espresso powder. Beat with an electric mixer until smooth and fully combined. Add the powdered sugar and vanilla extract, mixing until incorporated. Gently fold the whipped cream into the chocolate-espresso cream cheese mixture until evenly blended, being careful to maintain the light, airy texture.
- Assemble the Cheesecake: Spoon the mocha cheesecake filling over the frozen Oreo crust. Smooth the top evenly with a spatula. Cover the pan with plastic wrap and refrigerate for at least 6 hours, preferably overnight, to allow the cheesecake to set perfectly.
- Prepare the Mocha Ganache: When ready to serve, run a thin knife around the edge of the cheesecake to loosen it from the pan, then carefully remove the springform ring. Transfer the cheesecake onto a serving plate or cake stand. In a small microwave-safe bowl, combine heavy cream and instant espresso powder and heat in the microwave for about 1 minute, or until the mixture starts to steam. Add the semi-sweet chocolate chips and light corn syrup to the hot cream mixture. Let it rest for 2 minutes to allow the chocolate to melt completely, then stir gently until the ganache is smooth and glossy.
- Finish and Serve: Spoon the mocha ganache evenly over the chilled cheesecake, spreading it out smoothly across the top. Let the ganache set at room temperature for about 10 minutes before slicing. Serve the cheesecake chilled for the best flavor and texture.
Notes
- Ensure the cream cheese is completely smooth and lump-free before folding in the whipped cream for the best texture.
- The ganache should be perfectly smooth with no chocolate lumps; allow resting time for chocolate to melt fully before stirring.
- Use the flat bottom of a measuring cup or glass to firmly press the Oreo crust crumbs into the pan, which helps maintain the crust’s integrity when slicing.
- To make this dessert gluten-free, substitute the Oreos with gluten-free chocolate sandwich cookies or wafers; the filling and ganache are naturally gluten-free.
- If you don’t have instant espresso powder, you can substitute instant coffee powder at double the amount for similar mocha flavor, or use a shot of strong brewed espresso (reduce heavy cream slightly).
- This dessert can be made in a 9-inch deep pie dish or 8×8-inch square pan lined with parchment paper if you don’t have a springform pan; yields and chilling times remain similar.
- Store leftovers refrigerated, wrapped in plastic wrap or airtight container, for up to 3 days or frozen tightly wrapped in plastic and foil for up to 2 months. Thaw overnight in the fridge before serving.
- Prep Time: 30 minutes
- Cook Time: 0 minutes
- Category: Dessert
- Method: No-Cook
- Cuisine: American
