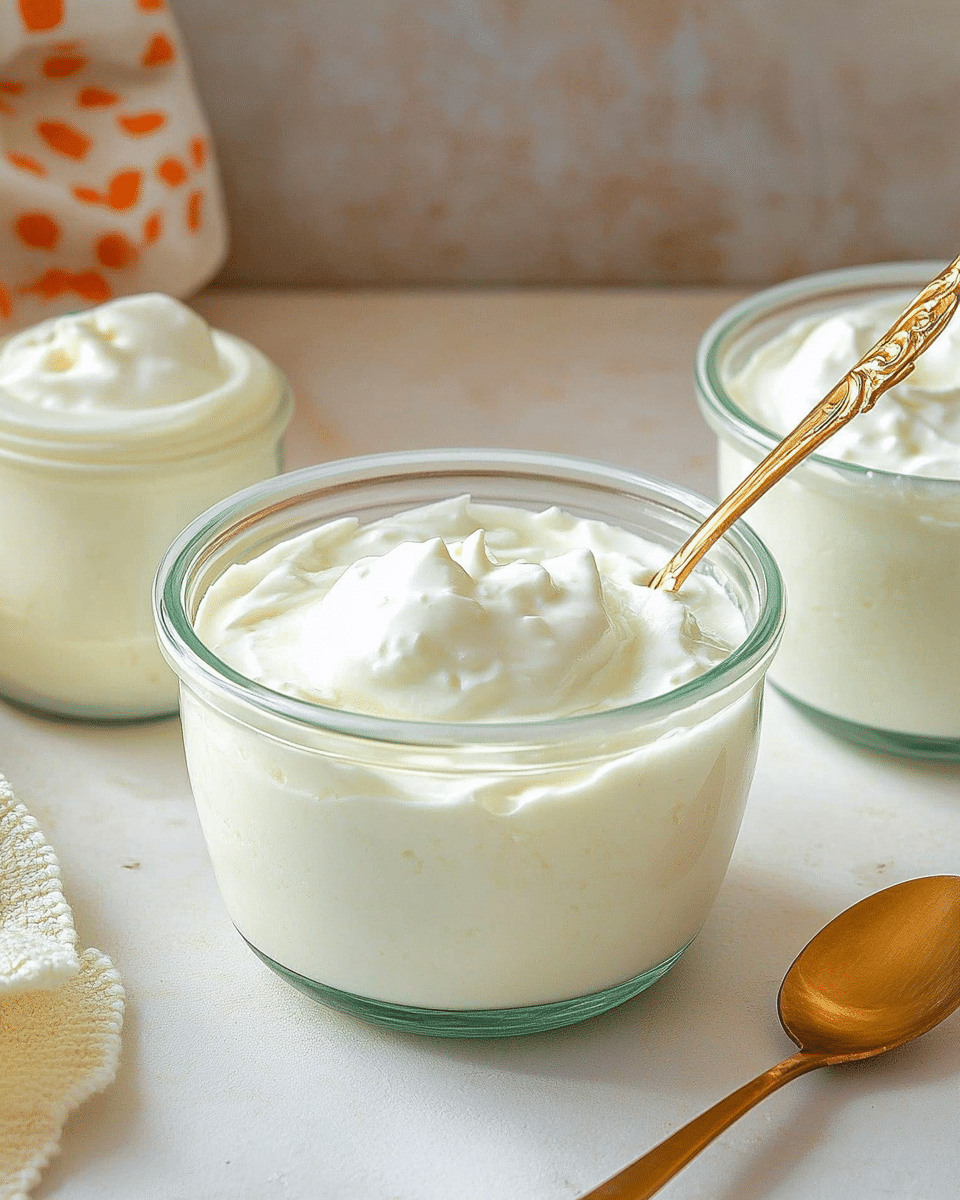
Making Greek Yogurt at home is easier than you might think. With just two ingredients and some patience, you can create a creamy, tangy yogurt that’s fresher, more affordable, and fully customizable compared to store-bought options. This recipe gives you control over thickness and tanginess while keeping things natural and wholesome.
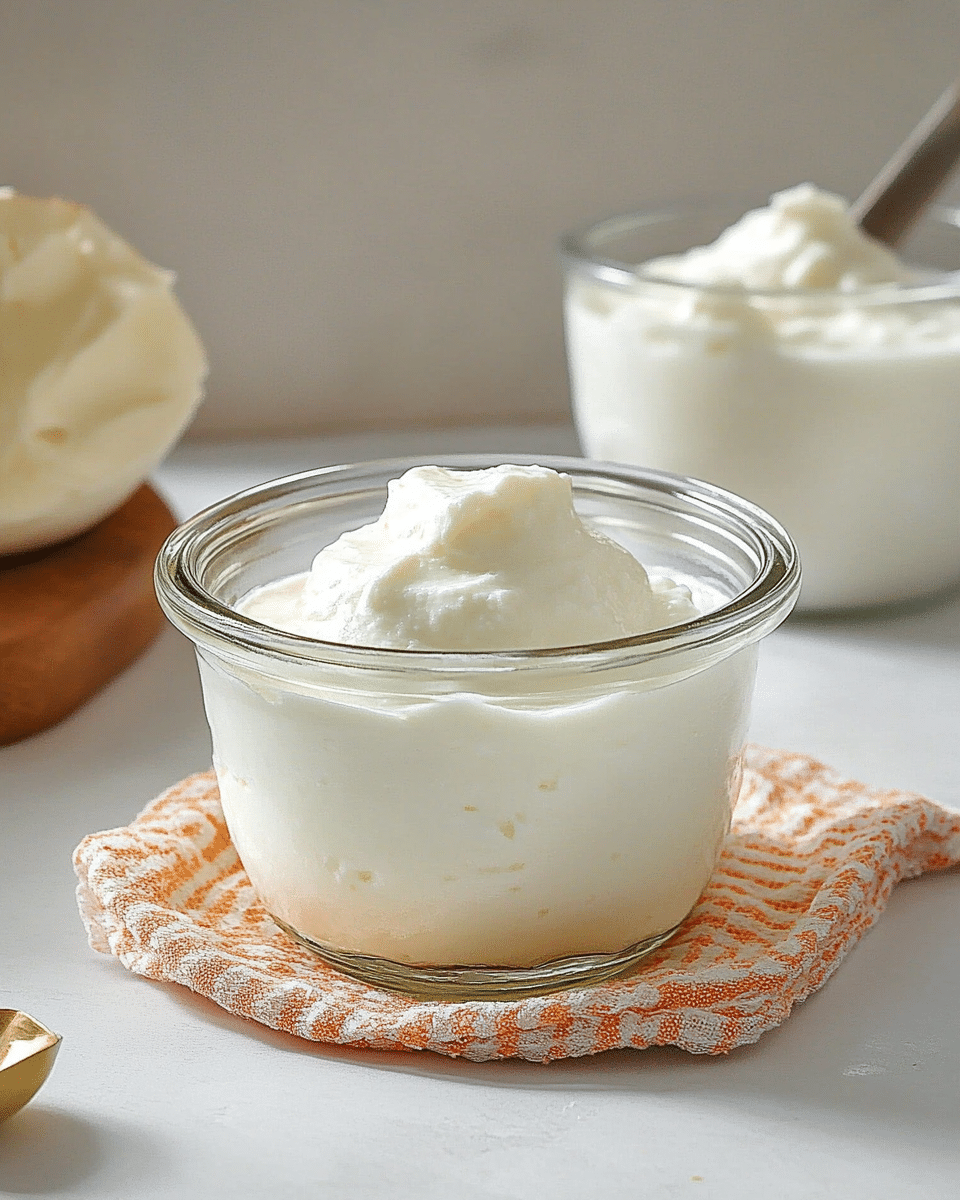
Why You’ll Love This Recipe
-
Requires only two simple ingredients
-
Budget-friendly compared to store-bought yogurt
-
Customize the thickness and tang to your liking
-
Great for meal prep and snacks
-
Packed with probiotics for gut health
-
Can be made with whole milk or reduced-fat milk
-
No special equipment needed (just a saucepan, thermometer, and strainer)
-
Straining makes it thick, creamy, and versatile
-
Stays fresh for up to two weeks
-
Perfect for both sweet and savory recipes
Ingredients
(Tip: You’ll find the full list of ingredients and measurements in the recipe card below.)
-
8 cups (2%) or whole milk (whole milk for a creamier texture)
-
1/2 cup plain yogurt with live active cultures (store-bought or from a previous batch)
Directions
-
Heat the Milk
Pour the milk into a large saucepan and heat over medium heat until it reaches 185°F (85°C). Stir occasionally to prevent a skin from forming. -
Cool the Milk
Remove the saucepan from heat and let the milk cool down to 110°F (43°C). To speed this up, place the pot in an ice bath if desired. -
Mix Yogurt Starter
Take 1 cup of the cooled milk and mix it with the plain yogurt until smooth. -
Combine with Milk
Stir the yogurt mixture back into the saucepan with the rest of the milk. Mix gently to combine. -
Incubate
Transfer the mixture to a container, cover with a lid or towel, and place in a warm environment (around 110°F). Options: oven with the light on, yogurt maker, or a warm spot in the kitchen.
Incubate for 6–12 hours, depending on how tangy you prefer. Longer incubation = tangier yogurt. -
Check the Yogurt
After incubation, the mixture should thicken into yogurt. Taste and check consistency. -
Strain for Greek Yogurt
For thicker Greek yogurt, line a fine mesh strainer with cheesecloth or a clean towel and place over a bowl. Pour yogurt in and let drain for at least 2 hours, or until desired thickness is reached. -
Store
Transfer yogurt to an airtight container and refrigerate. Keeps fresh for 1–2 weeks.
Servings and Timing
-
Servings: ~4 cups (1 quart)
-
Prep Time: 15 minutes
-
Incubation Time: 6–12 hours
-
Straining Time: 2+ hours
-
Total Time: 8–14 hours
Variations
-
Non-dairy version: Use coconut or almond milk with a dairy-free yogurt starter.
-
Thicker yogurt: Strain longer (up to overnight in the fridge).
-
Sweeter yogurt: Stir in honey, maple syrup, or vanilla extract after straining.
-
Savory twist: Add herbs, garlic, or lemon juice for a yogurt dip.
-
Flavored yogurt: Mix in fresh fruit or fruit compote before serving.
Storage/Reheating
-
Refrigerator: Store in a sealed container for 1–2 weeks.
-
Freezer: Yogurt can be frozen for up to 2 months, though texture may change.
-
Reheating: Not recommended—yogurt should be enjoyed chilled or at room temperature.
FAQs
Do I need a yogurt maker to make Greek yogurt?
No. A saucepan, thermometer, and a warm place to incubate are all you need.
Why heat the milk before making yogurt?
Heating kills unwanted bacteria and helps proteins set for a thicker yogurt.
What type of milk is best?
Whole milk produces the creamiest yogurt, but 2% also works well.
Can I use flavored yogurt as a starter?
It’s best to use plain yogurt with live active cultures for reliable results.
How do I make yogurt tangier?
Incubate for a longer period (up to 12 hours) to develop more tang.
Why strain yogurt to make it Greek?
Straining removes liquid whey, leaving you with thicker, creamier yogurt.
Can I reuse my homemade yogurt as a starter?
Yes, you can save a small amount to use in your next batch. Do this up to 3–4 times before starting fresh.
What can I do with the leftover whey?
Use it in smoothies, soups, or bread dough for added protein and flavor.
How do I prevent runny yogurt?
Make sure the milk is heated and cooled properly, and strain long enough for desired thickness.
Can I double the recipe?
Yes, but use a larger pot and make sure to keep the temperature consistent during incubation.
Conclusion
Homemade Greek Yogurt is a simple, budget-friendly, and healthier alternative to store-bought. With just milk and a little yogurt starter, you can create a creamy, tangy, and versatile staple perfect for breakfasts, snacks, and cooking. Once you try it, you may never go back to buying yogurt again.
Print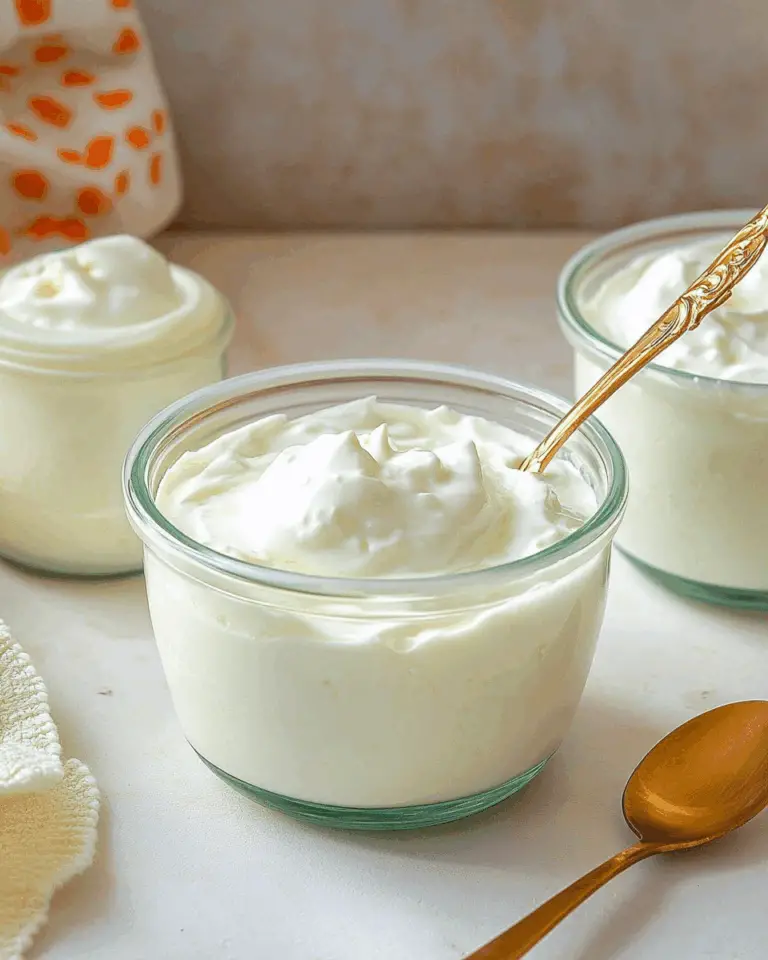
Homemade Greek Yogurt
Making Greek Yogurt at home is simple, budget-friendly, and allows you to control the thickness and tanginess. This recipe requires just 2 ingredients and a little patience!
- Total Time: 6-12 hours (incubation)
- Yield: Approx. 4 cups
Ingredients
- 8 cups (2%) or whole milk (whole milk for a creamier texture)
- 1/2 cup plain yogurt with live active cultures (store-bought or from a previous batch)
Instructions
- Heat the Milk: Pour the milk into a large saucepan. Heat the milk over medium heat until it reaches 185°F (85°C). Use a kitchen thermometer to ensure the right temperature. Stir the milk occasionally to prevent a skin from forming and to ensure even heating.
- Cool the Milk: Remove the saucepan from the heat and allow the milk to cool down to 110°F (43°C). Tip: If you want to speed up the cooling process, you can place the saucepan in an ice bath (carefully!).
- Mix Yogurt Starter: Once the milk has cooled to 110°F, take about 1 cup of the milk and mix it with the yogurt in a small bowl until smooth and fully combined.
- Combine with Milk: Pour this yogurt mixture back into the saucepan with the rest of the milk. Stir gently to combine.
- Incubate the Yogurt: Pour the milk mixture into a container or bowl. Cover it with a lid or a clean kitchen towel. Place the container in a warm environment to maintain a temperature of around 110°F. Options include using:
- Oven with the light on
- Yogurt maker
- A warm spot in your kitchen
Let the yogurt incubate for 6-12 hours, depending on how tangy you want it. Longer incubation = tangier yogurt!
- Check the Yogurt: After the incubation period, the mixture should have thickened into yogurt. If you’re happy with the taste and consistency, it’s ready to strain.
- Make it Greek Yogurt: Strain the yogurt to remove excess whey, making it thicker. Place a cheesecloth or a clean kitchen towel over a fine mesh strainer, then set it over a bowl. Pour the yogurt into the strainer and let it drain for at least 2 hours (or until it reaches your desired thickness).
- Store the Yogurt: Transfer your homemade Greek yogurt to an airtight container and store it in the refrigerator. It should stay fresh for 1-2 weeks.
Notes
- You can use any type of milk, but whole milk yields a creamier result.
- If you prefer a sweeter yogurt, add honey or maple syrup to taste after the yogurt is made.
- If you want a thicker yogurt, let it strain for longer or use a thicker cloth for straining.
- Prep Time: 10 minutes
- Cook Time: 0 minutes
- Category: Breakfast, Snack
- Method: Fermentation
- Cuisine: Greek
- Diet: Vegetarian
Nutrition
- Serving Size: 1/2 cup
- Calories: 100
- Sugar: 7g
- Sodium: 40mg
- Fat: 5g
- Saturated Fat: 3g
- Unsaturated Fat: 2g
- Trans Fat: 0g
- Carbohydrates: 6g
- Fiber: 0g
- Protein: 6g
- Cholesterol: 20mg

